
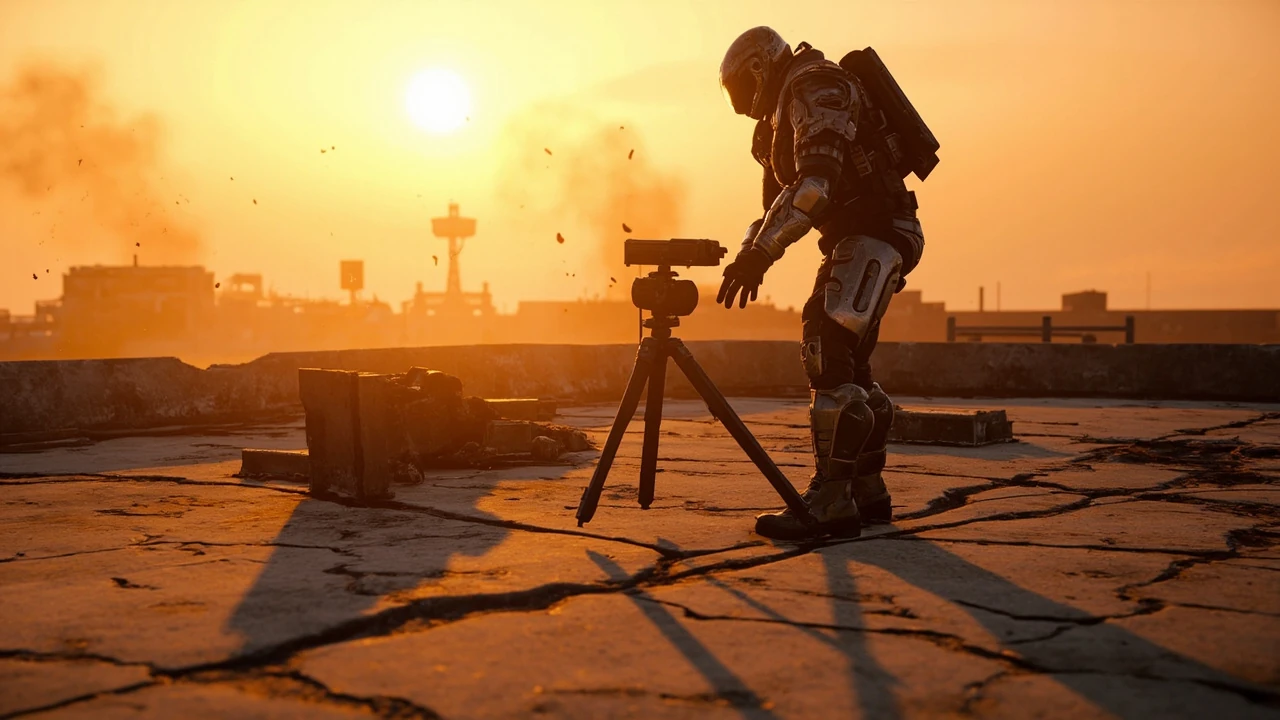
Eyes in the sky arc raiders: how the quest actually works
ARC Raiders drops players into a hostile surface world overrun by machines called ARCs, and most of its progression depends on a steady loop of salvage, combat, and trust-building with the settlers who live in the underground Speranza. Side quests like Eyes in the Sky sit at the centre of that loop. You pick the quest up from an NPC named Shani, and she asks you to install three LiDAR scanners on high points across the map so the settlement can keep better track of ARC movements above ground. The work is simple on paper, but each scanner site is a deliberate design choice, because reaching a roof in a live extraction shooter is never just a climbing puzzle.
This guide walks through the quest step by step using the locations and conditions verified by the official community walkthrough maintained on the ARC Raiders Eyes in the Sky quest page, which provides useful background for this point. It is written for a single reader in mind: a player who already understands the basics of extraction play, squad timing, and inventory pressure, and who now needs a clear path to the three rooftops, the small mechanical tricks the quest uses, and the reward that closes the loop with Shani.
Quest context and why LiDAR scanners matter
Before climbing the first ladder, it helps to understand what the quest is doing inside ARC Raiders’ world design. The game splits its content into two halves: the surface, where ARCs patrol and players fight for loot, and Speranza, where NPCs offer missions, vendors, and progression. Most of the side quests are short arcs that route the player through one or two surface locations and pay out in materials or consumables that smooth out the next raid.
Eyes in the Sky fits that pattern. It sends you to three named landmarks that already exist on the world map:
- The Control Tower, in the southeast of Dam Battlegrounds.
- The Communications Tower, on the far east of Spaceport.
- The Galleria Sign, in the northeast of Buried City.
Each location is a tall, exposed structure, which is exactly what the quest needs: a clear line of sight for a LiDAR unit that can relay ARC positions back to the settlement. The tripods you find on each roof are not collectibles; they are quest interactables. Once you place a scanner on a tripod, the quest silently checks it off and you can move on.
Because the quest is gated by an item you receive from Shani, it is best treated as a self-contained errand, not as background noise you can run while grinding other objectives. The reward is meaningful enough to plan the route, but small enough that the value comes from completing the quest efficiently rather than from chasing a rare drop.
Prerequisites and loadout considerations
ARC Raiders is a live extraction game, and that framing changes how a quest like this should be approached. The walkers, rocketeers, and patrolling ARCs that guard high-value spots do not care that you are carrying a quest item. The following checklist is what a typical player should confirm before queuing into a map with this quest active:
- Quest item in inventory. Shani hands you a zipline at the start of the quest. The zipline is the only one you will receive automatically, and it is needed for the third scanner. If it is lost, sold, or stored between runs, the Galleria Sign leg of the quest becomes much harder.
- Ammo and med supplies. Each scanner site is a defensible position with poor cover. Plan for at least one medium fight, especially at the Communications Tower, where ARC patrols are common.
- Time to spare. Each scanner site can take five to ten minutes including travel from spawn, climbing, and extraction planning. Trying to complete all three in a single run is risky and rarely worth the exposure.
- Match the map to the quest step. Each scanner lives on a different map. Players often confuse the Control Tower on Dam Battlegrounds with the Testing Annex’s own tower structures; the verified target is the one nearest the Primary Facility.
For players who want a more technical read on the loop, the design lessons in ARC Raiders straight record: meaning and practical use show how the game’s quest systems and item economy are tuned to encourage repeated short runs rather than marathon sessions.
Scanner 1: Control Tower on Dam Battlegrounds
The first scanner is the easiest of the three, both because the route is short and because the building is well marked. The Control Tower sits near the centre of Dam Battlegrounds, close to the Primary Facility and the Testing Annex on the southeast portion of the map. Players who already use the Testing Annex as a loot landmark will recognise the silhouette quickly.
When you approach, the verified walkthrough points you toward the east side of the facility, specifically the northeast section of the building that faces the Testing Annex. There is a door that has to be breached before you can get inside. Bring a weapon or tool that handles doors reliably, because breaching from the wrong side can pull extra ARC attention.
Inside, take the elevator to the top, then continue to the highest floor you can reach on foot. From there, follow the path to the roof. The tripod is on the corner of the building, so when you step out onto the roof level, hug the edge that overlooks the Testing Annex and look for a small, low-profile stand. Interact with it to place the first LiDAR scanner.
Common mistakes on the Control Tower leg
- Approaching from the south or west. The east-side breach is faster and exposes you to fewer sightlines.
- Forgetting to ride the elevator to the top. Several players try to climb from lower floors and end up fighting through unnecessary corridors.
- Treating the roof as safe. The position is exposed, so expect at least one ARC patrol to investigate by the time you place the scanner.
Once the tripod accepts the scanner, the quest silently advances. You can extract immediately, or keep the run going if the surrounding loot is still worth the risk.
Scanner 2: Communications Tower on Spaceport
The second scanner is the most isolated of the three. The Communications Tower sits on the far east side of Spaceport, near the Container Storage. The position is deliberately off the main path, so you should not expect random traffic, but you also should not expect help if you are caught out in the open.
Verified guidance describes the area as partially fenced off. There are two real entrances: a formal west-side entrance and a downed section of fence on the east side. Either works; the downed fence is the faster option if you can survive the longer approach. As you get close, the tower itself is easy to spot because it is tall and thin, with no similar structures nearby.
There is only one ladder on the tower, and you must climb it. There is no roof route, no alternate staircase, and no way to bypass the climb. When you reach the top, turn to the right and you will find the second tripod. Place the scanner to clear this leg of the quest.
Why this site is harder than it looks
What makes the Communications Tower awkward is not the climb itself but the path to the base. ARC Raiders’ world AI is tuned so that machine patrols drift through less-trafficked zones on a slower cycle, which means a player who lingers near Container Storage is more likely to be caught by a single rocketeer or a small group of walkers rather than a full squad fight. Treat the area as if one patrol will always come through while you are climbing.
Scanner 3: Galleria Sign in Buried City
The third scanner is the trickiest by design, and the one the quest was clearly built around. The Galleria Sign is a large advertising structure in the northeast of Buried City, across from the Parking Garage and the Research buildings. From the ground it looks like a flat sign mounted on a roof, not a climbable landmark, which is why Shani gives you a zipline at the start of the quest.
The zipline is not optional. Without it, reaching the top of the sign is described as exceptionally difficult, and verified walkthroughs treat the zipline as a hard requirement. Keep it in a quick-access slot before you enter Buried City, because fumbling through inventory at the wrong moment is how most failed runs start.
The approach is from the north, since that side gives the most direct path to the top of the building. The verified route is:
- Reach the building on the north face of the Galleria Sign plaza.
- Take the scaffolds upward; there is more than one, and the layout can confuse first-time visitors.
- Climb the ladder on the upper scaffold, then clear the second floor of any loot or ARC pressure.
- Step out onto the level roof, equip the zipline, and aim it at the floor of the large sign above you.
- Angle the zipline so that you land on the platform rather than over the edge. The platform is narrow, so the verified guidance is to favour the sides of the floor to reduce the risk of falling.
- Ride the zipline up, then turn right and face north to find the third tripod.
The hardest part of the entire quest is the zipline aim. If the line is too short, you can clip the edge of the sign and drop to the ground. If it is too long, the physics can push you past the platform entirely. The walkthrough’s practical advice is to lead with the sides of the sign’s platform rather than the centre, because the platform is wider near its edges than at its midpoint.
Returning to Shani and the quest reward
Once all three LiDAR scanners are placed, return to Shani. The reward is a small but useful bundle:
- 3 Tagging Grenades.
- 1 Vita Spray.
- 5 Yellow Light Sticks.
None of these items are endgame gear, but each has a clear tactical role. Tagging Grenades help a squad coordinate on a high-value target. Vita Spray is a heal consumable, and Yellow Light Sticks are deployable flares that can be used to mark extraction points or guide teammates through dark interiors. For a side quest that mostly serves as a world tour, the reward is balanced to keep the loop running.
Design lessons for quest design and extraction pacing
For readers who work on game development, Eyes in the Sky is a useful case study in how an extraction shooter can structure a side quest. Three locations, three different traversal mechanics, and a single shared consumable that the player can only get from the quest giver is a compact way to teach players how the world is layered.
Several design patterns stand out:
- Landmark reuse. The quest does not invent new geometry. It uses existing map landmarks, which means the reward is paid for by teaching players how to navigate the surface, not by adding new content.
- Skill escalation. The first scanner is a simple climb, the second adds a longer route and an isolated target, and the third introduces a traversal tool the player did not have before. The difficulty curve is built into the kit, not into enemy density.
- Consumable gating. Giving the player a zipline that is required for the third leg ties the quest’s difficulty to a specific, recoverable mistake. If the player loses the zipline, the failure is visible and the fix is clear.
- Reward restraint. The three items handed in at the end of the quest are all consumables. None of them change the long-term economy, which keeps the quest from crowding out larger objectives.
From a production standpoint, the trade-off is that a quest of this length has to be designed in close coordination with the level art team, because every scanner site depends on a roof or tower that already exists in the world. If a landmark changes between patches, the quest’s balance can change with it. Studios that ship live extraction games often document which quests depend on which map objects for exactly this reason.
Troubleshooting common quest issues
Most failures on this quest are not caused by bugs but by navigation and loadout mistakes. The following table lists the issues that come up most often, along with the verified mitigation for each.
| Symptom | Most likely cause | How to confirm | What to do |
|---|---|---|---|
| Cannot place scanner at the Control Tower | Wrong building or wrong floor | Map marker is near the Primary Facility, not the Testing Annex’s main structure | Approach from the east, take the elevator to the top, then continue to the roof and use the corner tripod |
| Communications Tower climb seems blocked | Approached the fenced perimeter at the wrong angle | No ladder visible at the base | Use the west entrance or the downed east fence, then locate the single ladder and climb it |
| Cannot reach the Galleria Sign platform | Zipline is missing from inventory | Quest log mentions the zipline but the item is not in any slot | Return to Shani, re-accept the quest, and re-equip the zipline in a quick-access slot before re-entering Buried City |
| Falls off the Galleria Sign platform | Zipline aimed too far across the platform | Character clips the edge of the sign and drops | Re-aim so the landing point favours the sides of the platform rather than the centre |
| Quest does not advance after the third scanner | Interacted with the wrong object on the roof | UI prompts interact but the quest log does not update | Face north and use the tripod on the right after reaching the top of the sign |
If a player reports that none of the mitigations work, the next step is to check whether the quest is still active. Some players find that an earlier extraction in another run cancelled the marker, especially if they left the map after placing only one or two scanners. Re-checking the quest log in Speranza is faster than restarting the trip.
How this quest compares with similar ARC Raiders errands
ARC Raiders uses a fairly small set of quest archetypes. Comparing Eyes in the Sky with the rest of the side-quest pool makes it easier to plan a session, because the design pattern tells you how much time and risk to budget.
| Quest archetype | Typical length | Traversal demand | Combat demand | Best run type |
|---|---|---|---|---|
| Multi-rooftop placement (Eyes in the Sky) | Long, three-map route | High, includes a zipline | Medium, isolated fights at each site | Solo or duo, planned in advance |
| Single-map salvage delivery | Short, one extraction | Low to medium | Medium, depends on the route | Solo, between larger runs |
| Defend a fixed position | Medium, one extraction | Low | High, sustained fight | Squad of three, with healing |
| Multi-objective chain | Long, two to three extractions | Medium to high | Variable | Planned route, dedicated session |
Eyes in the Sky sits at the long, high-traversal end of that range. A practical way to schedule it is to do the first two scanners in one play session and the Galleria Sign in a focused follow-up, because the third site deserves a run where the zipline is the only thing on your mind.
Production notes for studios designing similar quests
For teams building extraction shooters or shared-world shooters, the design of Eyes in the Sky raises a few production questions worth thinking about early. None of them are unique to ARC Raiders, but the quest brings them into focus.
- Map dependency. Because every scanner site is an existing landmark, any change to those landmarks can break the quest. Versioning the quest and the level art in the same branch helps avoid silent regressions.
- Traversal tooling. The zipline is a hand-off between quest, animation, and physics systems. It is worth tracking how many of the quest’s QA failures come from the tool itself rather than from player error, because a hard-to-use traversal tool tends to look like a balance problem in telemetry.
- Reward composition. The reward is a small stack of consumables, which keeps the quest out of the meta economy. If a quest is meant to be repeatable, that kind of restraint is usually safer than a single high-value item.
- Failure visibility. When the player loses the zipline or aims it wrong, the cause is easy to see. That clarity is what turns a frustrating quest into a teachable one, and it is one of the more useful patterns to copy from this quest’s design.
Readers interested in how quest objectives interact with broader game loops can compare this approach with the design discussion in Sword and shield starter evolutions: design patterns and implementation, which examines how small progression beats can be tuned without breaking the larger balance of a game.
When this quest stops being worth the run
Like most ARC Raiders side quests, Eyes in the Sky is meant to be played once or twice, not as a repeatable farm. Once the three scanners are placed, the quest is done. If a player is hunting for the rewards specifically, the expected return is one quest cycle, so the value is in completing it cleanly rather than in re-running the route.
For players who are already deep in the Speranza vendor loop, the better use of time after this quest is to slot it next to a larger objective. The Dam Battlegrounds, Spaceport, and Buried City runs each touch landmarks that other quests also use, so Eyes in the Sky can be combined with a salvage run if the route lines up. Players who try to squeeze it into a chaotic squad fight tend to lose the zipline or extract without placing all three scanners, which makes the quest feel longer than it actually is.
For developers, the most useful takeaway is the trade-off the quest accepts: it gives up reward density in exchange for landmark education. That is a healthy trade for a side quest, and it is the kind of pattern worth keeping in the toolkit when designing similar world tours in extraction games.
Frequently asked questions
Where do I start the Eyes in the Sky quest in ARC Raiders?
You start the quest by talking to Shani in Speranza. She gives you the quest item, a zipline, which you need for the third scanner site. Pick the quest up before you load into a surface map, since the zipline is added to your inventory only when the quest is active.
Do I have to place all three LiDAR scanners in one run?
No. Each scanner is on a different map, and the quest tracks progress per scanner, not per run. Most players complete the first two scanners in one session and save the Galleria Sign leg for a focused follow-up, because the third site is the one that benefits from a clean plan and an empty inventory slot.
What happens if I lose the zipline before reaching the Galleria Sign?
Return to Shani and re-accept the quest. The walkthrough describes the Galleria Sign as exceptionally difficult to reach without the zipline, so losing it is the most common reason the third leg fails. Store the zipline in a quick-access slot and avoid dropping it on the ground near other loot.
Can I climb the Galleria Sign without the zipline?
Verified walkthroughs treat the zipline as a hard requirement. The sign’s roof is too far above the surrounding scaffolds to reach reliably without the zipline, and the most likely outcome of trying to brute-force the climb is a fatal fall.
How do I aim the zipline correctly at the Galleria Sign?
Stand on the level roof on the north side of the building, equip the zipline, and aim at the floor of the large sign. The verified advice is to lead the landing toward the sides of the platform rather than the centre, because the platform is wider at the edges and a centred aim can push your character off the side.
What rewards does Eyes in the Sky give when I return to Shani?
After the third scanner is placed, Shani rewards you with 3 Tagging Grenades, 1 Vita Spray, and 5 Yellow Light Sticks. The bundle is consumable-only and is meant to support your next run rather than to alter your long-term loadout.
Is Eyes in the Sky harder solo or in a squad?
Solo is generally fine for the first two scanners, since both sites are short climbs with limited enemy traffic. The Galleria Sign leg is more comfortable in a duo, because a second player can watch the approach while you set up the zipline. Full squads are not required and can actually pull more attention from ARC patrols and rival players.
Does the quest change between patches?
The three scanner sites, the zipline, and the reward have been stable across the documented versions of the quest. If a future patch reworks any of the involved landmarks, the most likely visible change is the exact entrance used at the Communications Tower or the roof layout at the Control Tower. The core route is unlikely to shift.
What should I do if the tripod does not respond at any scanner site?
First, confirm you are at the correct landmark. The Control Tower is near the Primary Facility in Dam Battlegrounds, the Communications Tower is the tall structure on the east of Spaceport, and the Galleria Sign is the large advertising structure in the northeast of Buried City. If you are at the right place and the tripod still does not respond, the most common cause is that the quest step is not active; re-check the quest log before you start climbing again.
Is Eyes in the Sky worth doing in a new player session?
For a new player, the quest is worth doing once because it teaches the geography of three maps and gives a small but useful set of consumables. New players should treat it as a guided tour rather than a grind, and they should pair the first two scanners with a basic salvage run to make the most of the trip.




Leave a Reply